Android data recovery can help you if your Android:
☞ Improper Handling
☞ Accidental Deletion
☞ OS/Rooting Error
☞ Device Failure/Stuck
☞ Virus Attack
☞ System Crash
☞ Forgotten Password
☞ SD Card Issue
Recover lost photos, videos and more from Android Phone/android%20data%20recover-xin1.jpg)
*Recover all lost files from Android smartphone & tablet,recover lost ontacts, messages, messaging attachment, call history, gallery, picture library, music, video and document that stored on your Android phone or SIM/SD card.
*With a single click to scan and recover all lost data like photos, videos, audio files, etc.
*One click to scan all lost photos & videos from SD card/mobile phone memory cards
Recover Data from Multiple Android phones& Android Tablets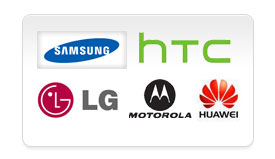
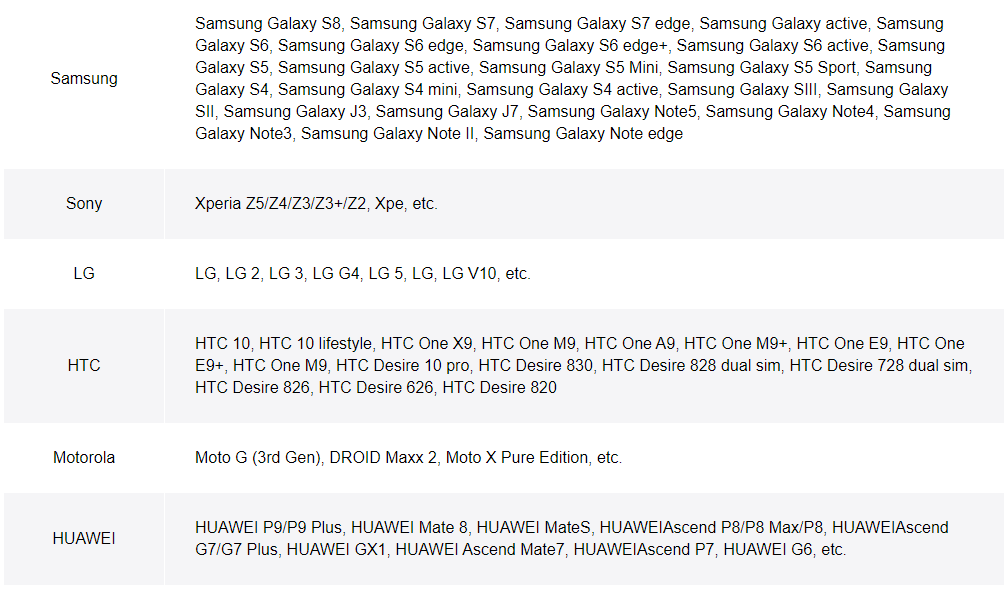
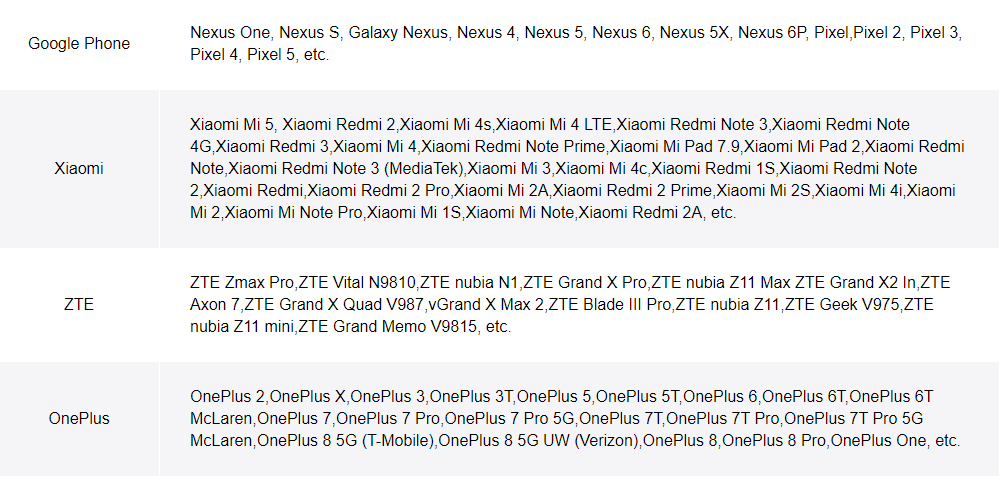
*Supports all brands of Android Phones and tablets,like Samsung, HTC, LG, Sony, Motorola, google, Huawei, etc;
*Connect the Android phone with a USB cable,and recover lost data from Android Phone directly
*All rooted Samsung devices are supported, regardless of Android OS.
Preview before Recover form your Android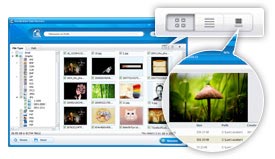
*Preview Common file formats, including BMP, GIF, PNG, JPEG, JPG, TIF, DOC, DOCX, HTM, PDF, PPT, PPTX, RAR, XLS, XLSX, ZIP, etc.
*Image Preview helps you find your target files and check their properties and quality before you decide to recover them.
*Preview of documents and archives lets you confirm in advance whether each file is indeed one you want to recover, or not.
Only 3 simple steps to recover lost files form Android
*Directly recover Android data within only 3 simple steps, just as easy as 1-2-3. Follow the clear and brief instructions on the interface, and no prior recovery experience required.
*Recover from SD Card,or recover from Android Phone directly.
System Requirement
● Windows 10/8.1/8/7/XP
● Mac OS X 10.7 or above (macOS Big Sur and macOS Monterey)
● 1GHz Intel/AMD CPU or above
● 1GB RAM or more
● 200 MB and above free space
● Android 4.0 and above
File types supported
| Photo |
JPG, TIF, TIFF, PNG, BMP, GIF, PSD, CRW, CR2, NEF, ORF, RAF, SR2, MRW, DCR, WMF, DNG, ERF, RAW, etc. |
| Video |
AVI, MOV, MP4, M4V, 3GP, 3G2, WMV, ASF, FLV, SWF, MPG, RM, RMVB, etc. |
| Audio |
MP3, M4A, WMA, MID/MIDI, WAV, AIF, AIFF, OGG, AAC, etc. |
| Document |
DOC, DOCX, XLS, XLSX, PPT, PPTX, PDF, CWK, HTML, HTM, INDD, EPS, etc. |
| Email |
PST, DBX, EMLX, etc. |
| Archive |
ZIP, RAR, SIT, etc. |
Support Android Devices
Free download the Trial Verison
How to Recover Lost Data on Android Phone
Recover deleted or lost data, including contacts, messages, messaging attachment, call history, gallery, picture library, music, video, document, etc. from your Android device or SD card.
1. Launch Program
Download, install and launch this software on your computer and choose Android Data Recovery on the interface. Then connect android phone to the computer with USB cable.
If your device is connected but not recognized successfully, click Device connected, but can’t be recognized? Get more help to get more methods for establishing a successful connection.
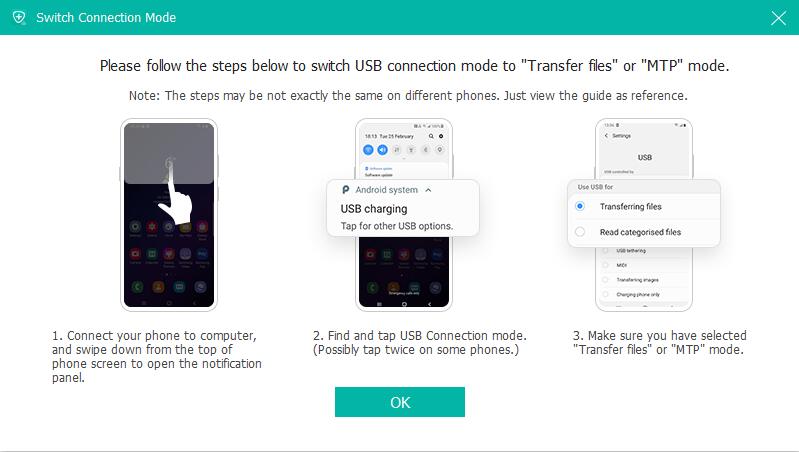
If you failed to connect the device to your computer, click on the Retry button to reconnect it. Or follow the second methods by clicking Click to view switching tutorial to get detailed steps to switch USB connection mode to Transfer files or MTP mode.
2. USB Debugging
The software will detect your Android version and tell you how to open the USB debugging mode on your phone. Just follow the on-screen instruction. Then tick the boxes of the file types you want to recover and click Next.
3. Get Privilege
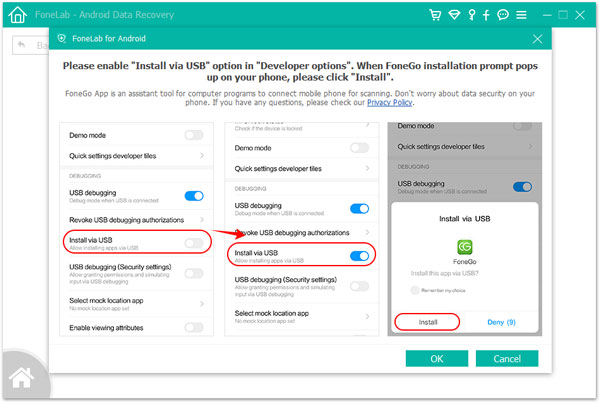
The program requires the privilege to read your device data so you will be prompted to install the Rooting Tool – FoneGo to root your phone by enabling Install via USB option in Developer options. You can also install a root app on your device to root the device. This article is for your reference: One Click to Root Your Android Devices
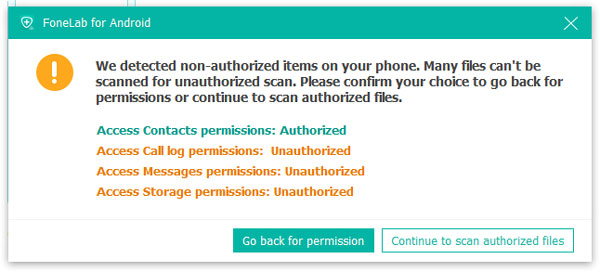
When you finish installing FoneGo App, you need to authorize it to access your phone before scanning. If you have authorized but the program didn't detect authorization status correctly, please click I Have Authorized. Or you can choose to scan authorized files.
If the program detects non-authorized items on your phone, you will get a pop-up message to confirm your choice to go back for permissions, or continue to scan authorized files. After that, this program starts scanning your phone.
4. Scan & Recover Data
When the scanning is finished, you will be prompted that Standard Scan has been finished. Then click Ok and preview your files listed in categories on the left sidebar. Select the Android data you want to recover, and then click Recover button to complete recovering process.
If you can't find the data you want, click Deep Scan button on the right bottom corner to get more lost data. Then you will get a pop-up message to explain what the Deep Scan is. For Deep Scan, you must root your phone to scan your full storage. Compared with Standard Scan, more data will be scanned, and more time will be used. After rooting your phone, exit root tools and click Start Deep Scan button on this pop-up window to scan more data. Then choose the data you want to recover.


Free download the Trial Verison